 Giftpin
Setup guide Shopify store owners
Set up Giftpin
in about ten minutes
Install Giftpin, add it to your Shopify theme and find every Save button. Then pick the guide for what you want to set up next. Bold text is exactly what you'll see on screen.
Do these steps in order. They are numbered 1 to 20 across the Setup, Customize and Pro pages, and the numbers carry on from one page to the next.
Choose your guide
Giftpin has guides for store owners and for the people who use registries.
Customize your store
- Occasions, items from other stores, sold-out products, privacy, perks, look and language, importing registries and Shopify Flow. Open the guide.
Pro features
- Group gifts and cash funds, gift cards on giftpin.app, automatic emails, promotions, analytics and in-store mode. Open the guide.
For registrants
- How the people you serve start a registry, add gifts and share it. Open the registry guide.
For guests
- How guests find a registry, buy a gift, chip in and avoid doubling up. Open the guest guide.
Get started
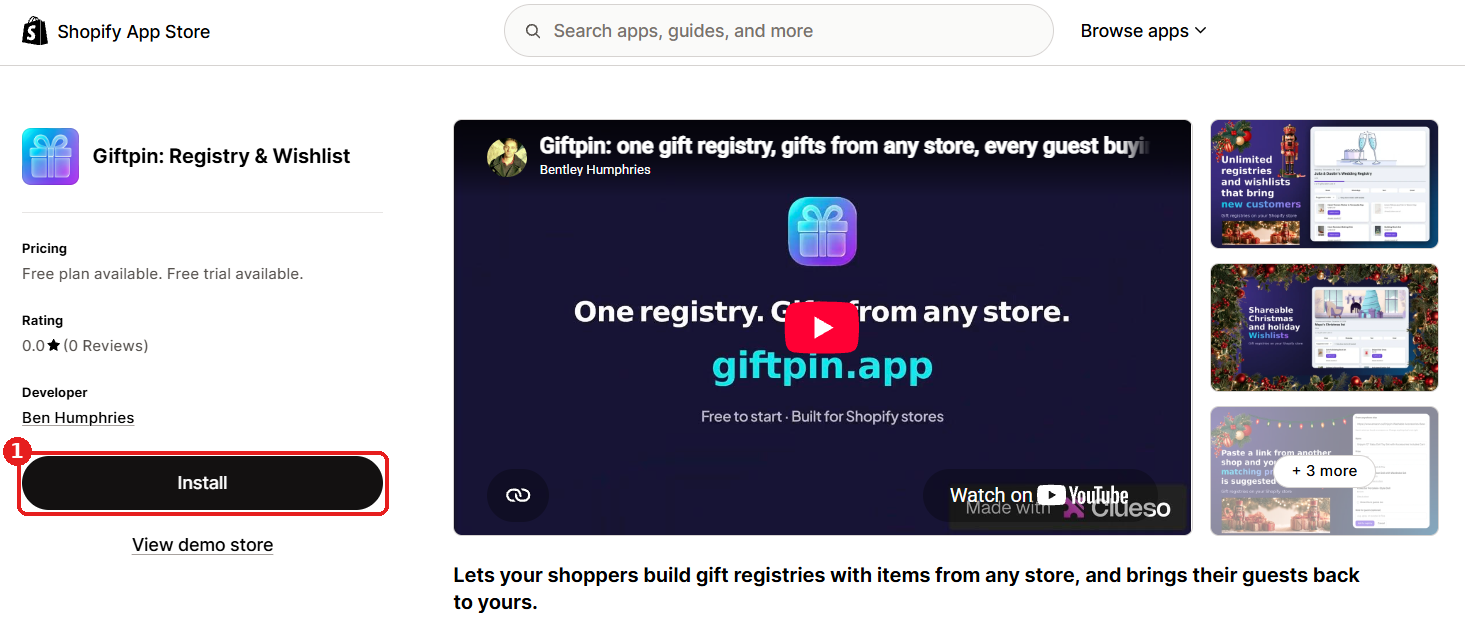
Install Giftpin
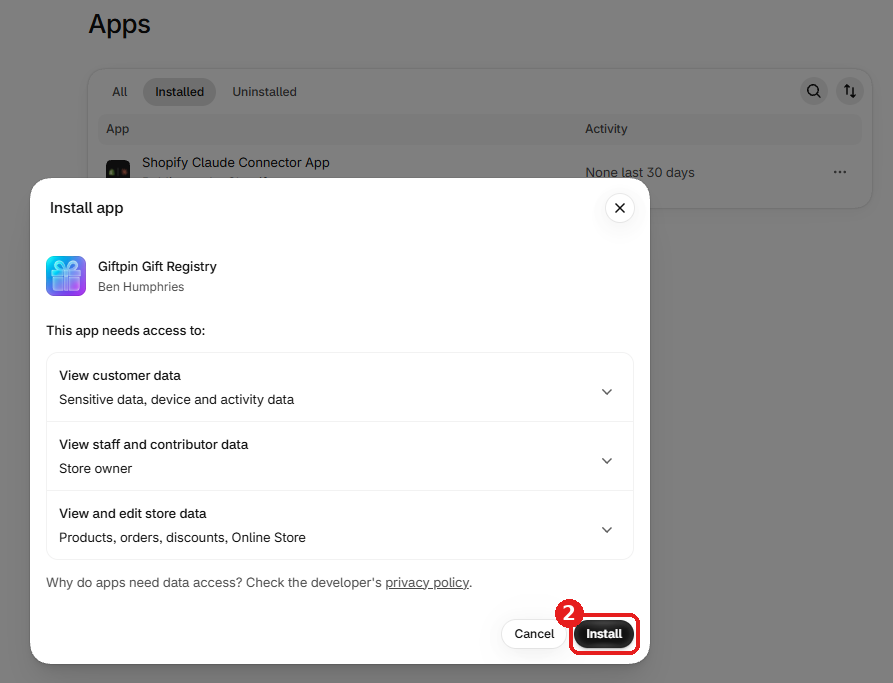
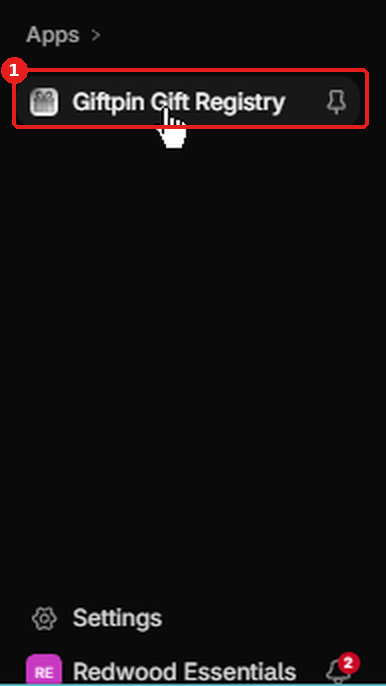
- Open Giftpin on the Shopify App Store and click Install.
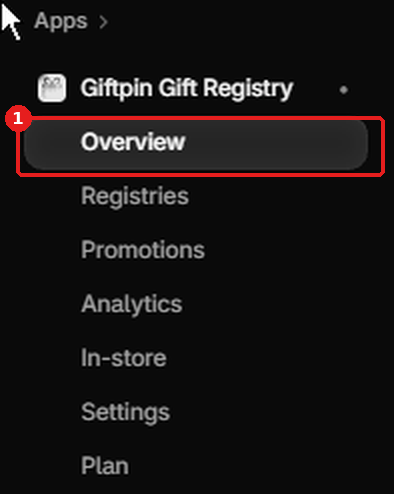
- Approve the permissions screen. Giftpin opens on its Overview page in your Shopify admin.
Add Giftpin to your theme
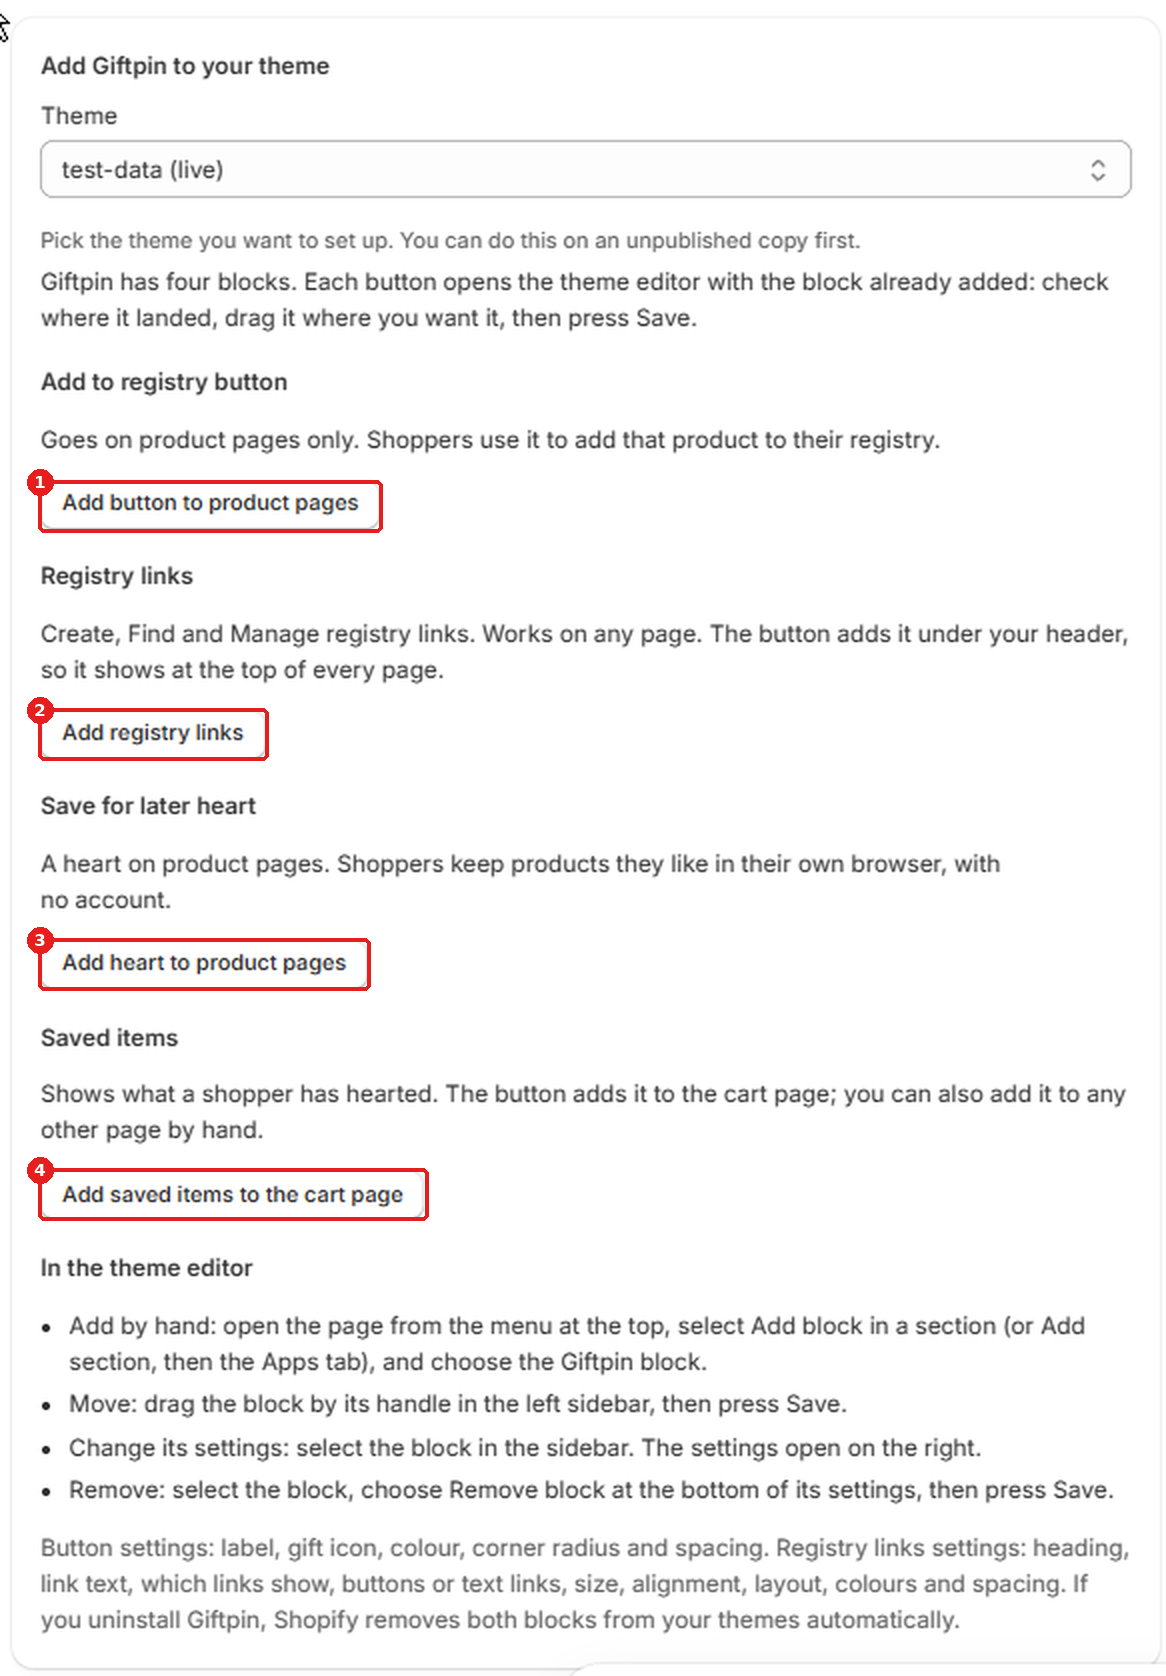
- On Overview, go to Add Giftpin to your theme and pick a theme. You can set up an unpublished copy first.
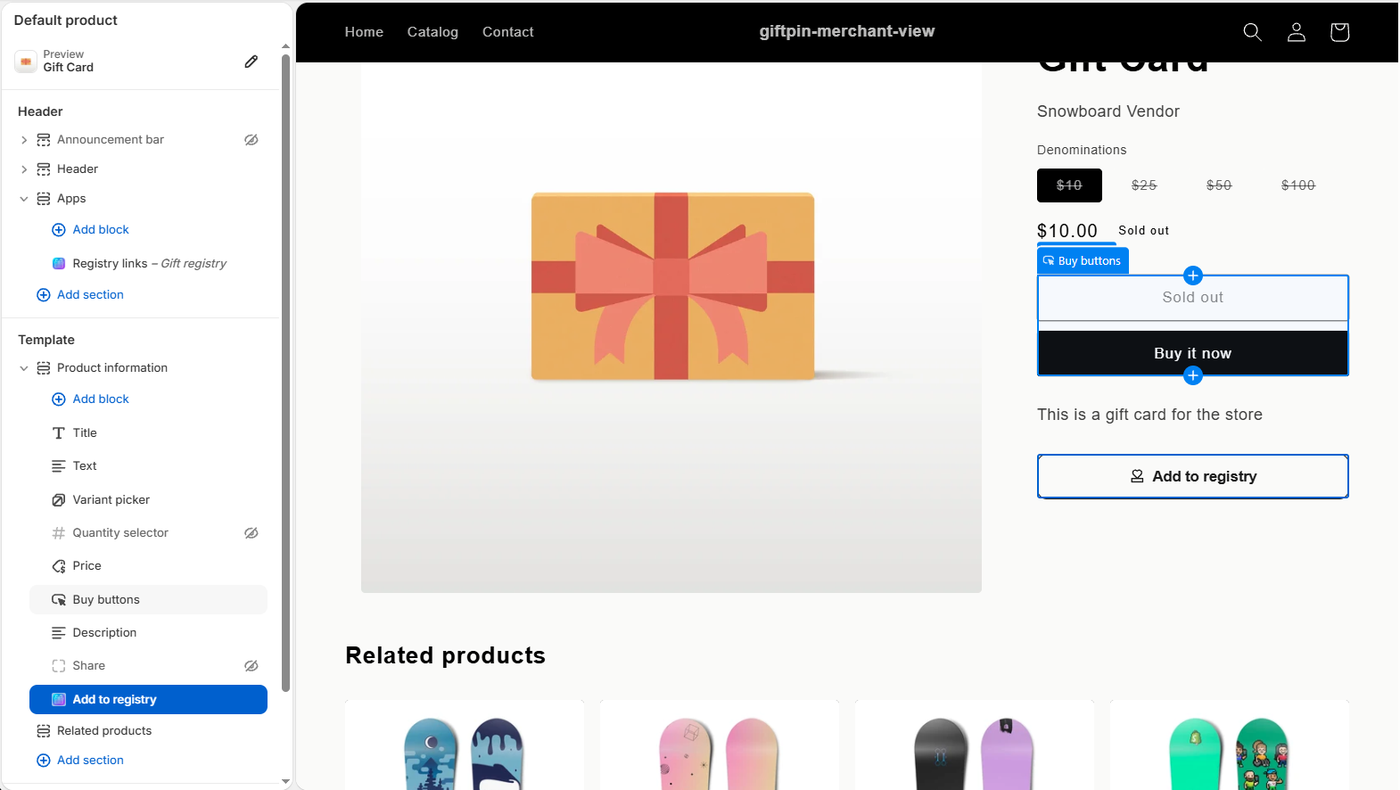
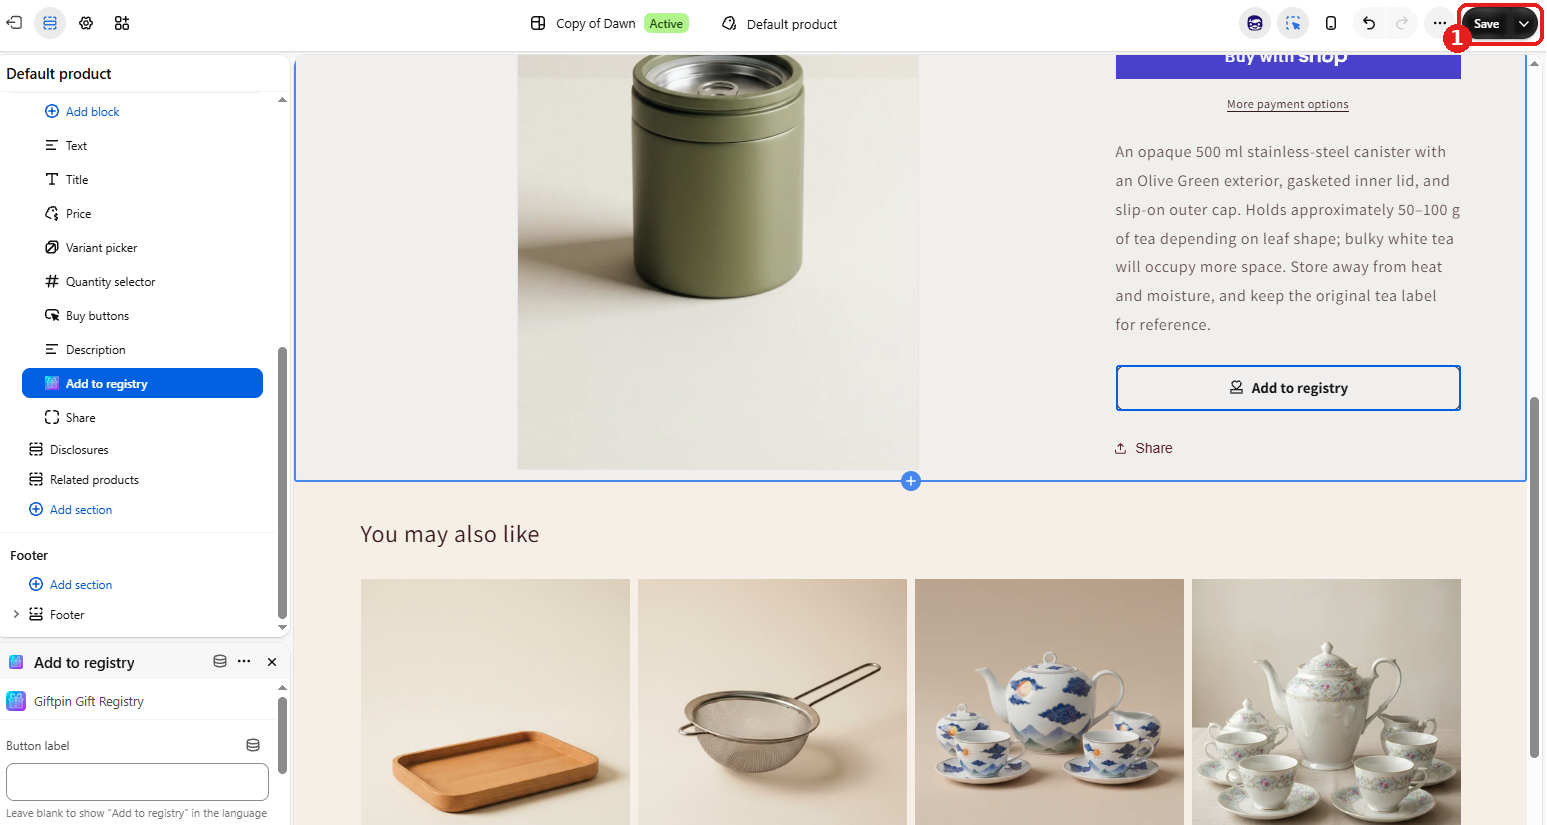
- Click Add button to product pages. The theme editor opens with the Add to registry button already added. Drag it where you want it, then press Save at the top right of the theme editor.
- Back in Giftpin, click Add registry links. This adds Create, Find and Manage registry links under your header. Press Save in the theme editor.
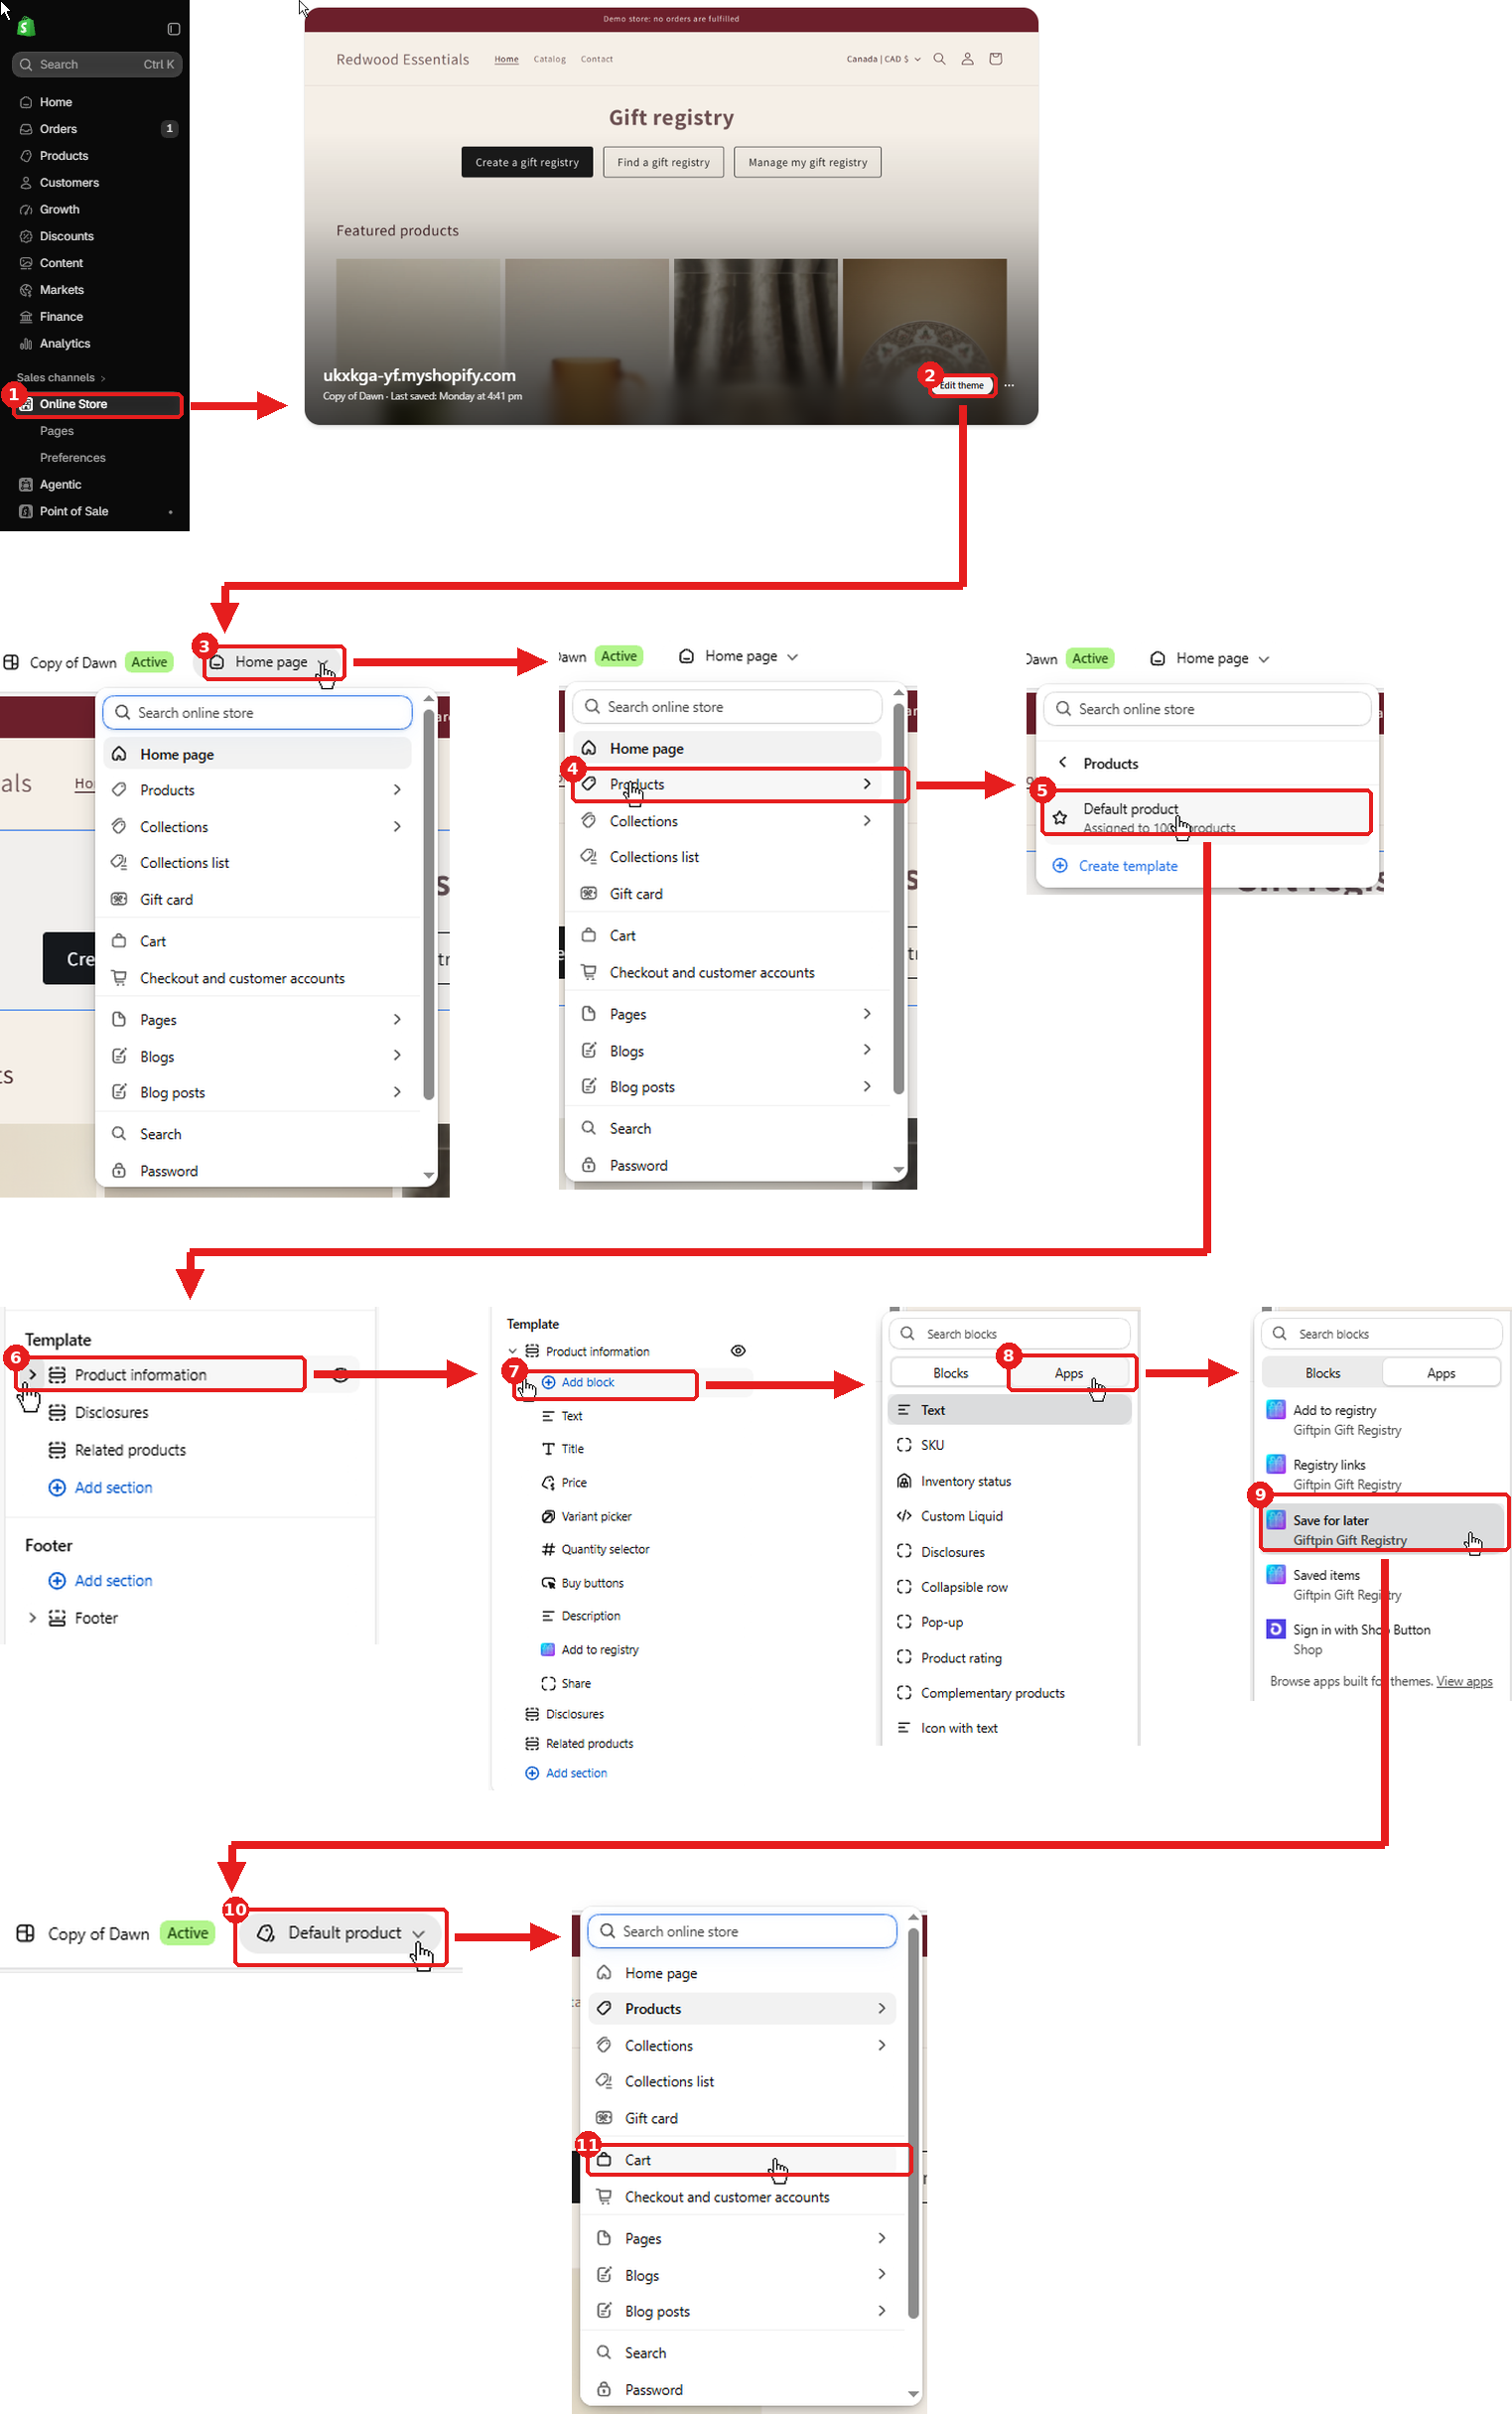
- Optional, for a favourites list: click Add heart to product pages. This opens the product page in the theme editor with a Save for later heart added. Press Save.
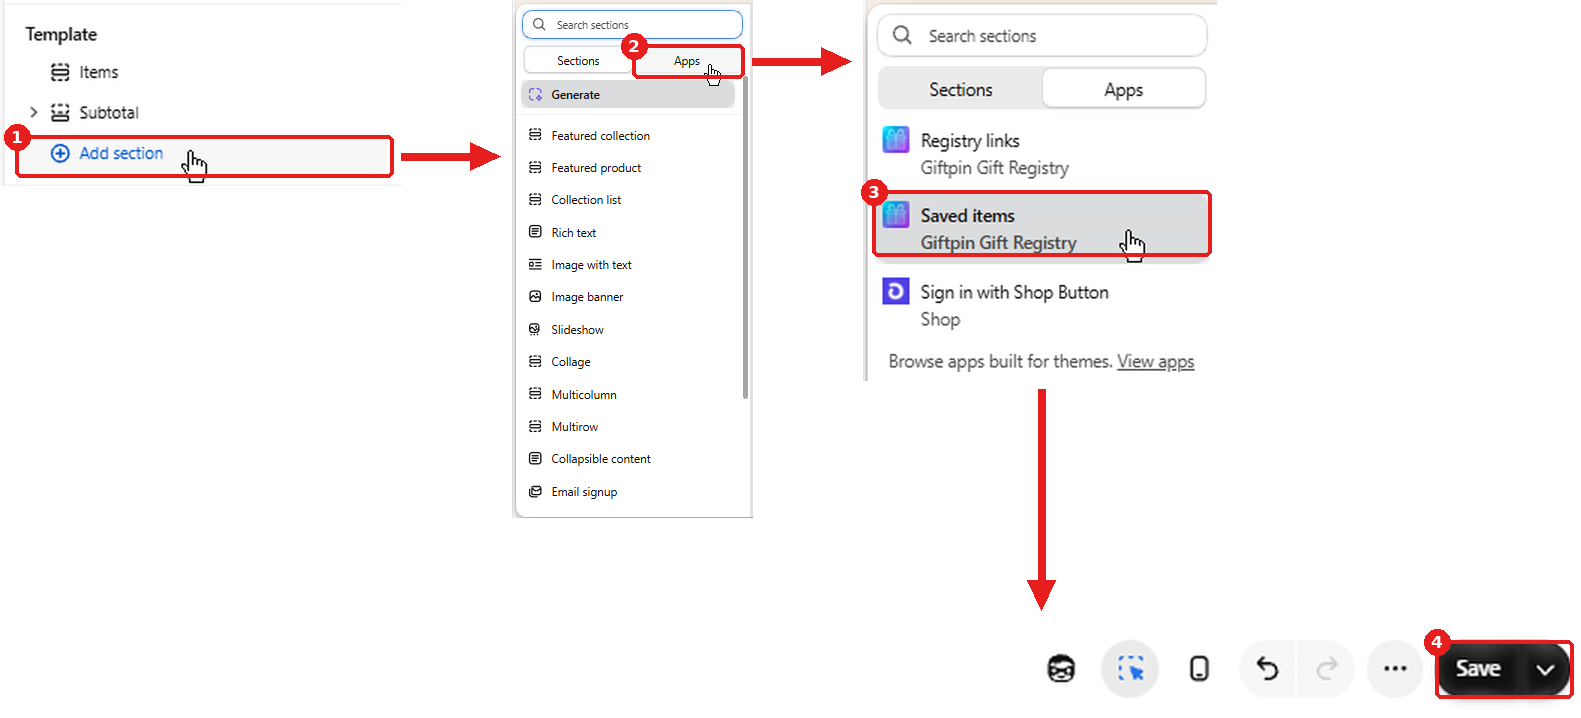
- Then click Add saved items to the cart page. This adds a Saved items list to your cart page, so shoppers can find what they hearted. Press Save.
- These two are not switched on automatically. Until you add them in the theme editor and press Save, shoppers won't see a heart. Hearts are kept in the shopper's own browser, with no account, so the list is empty on a new device.
- Prefer to place them by hand? In the theme editor, open the page, click Add block (or Add section), open the Apps group and choose Save for later or Saved items.
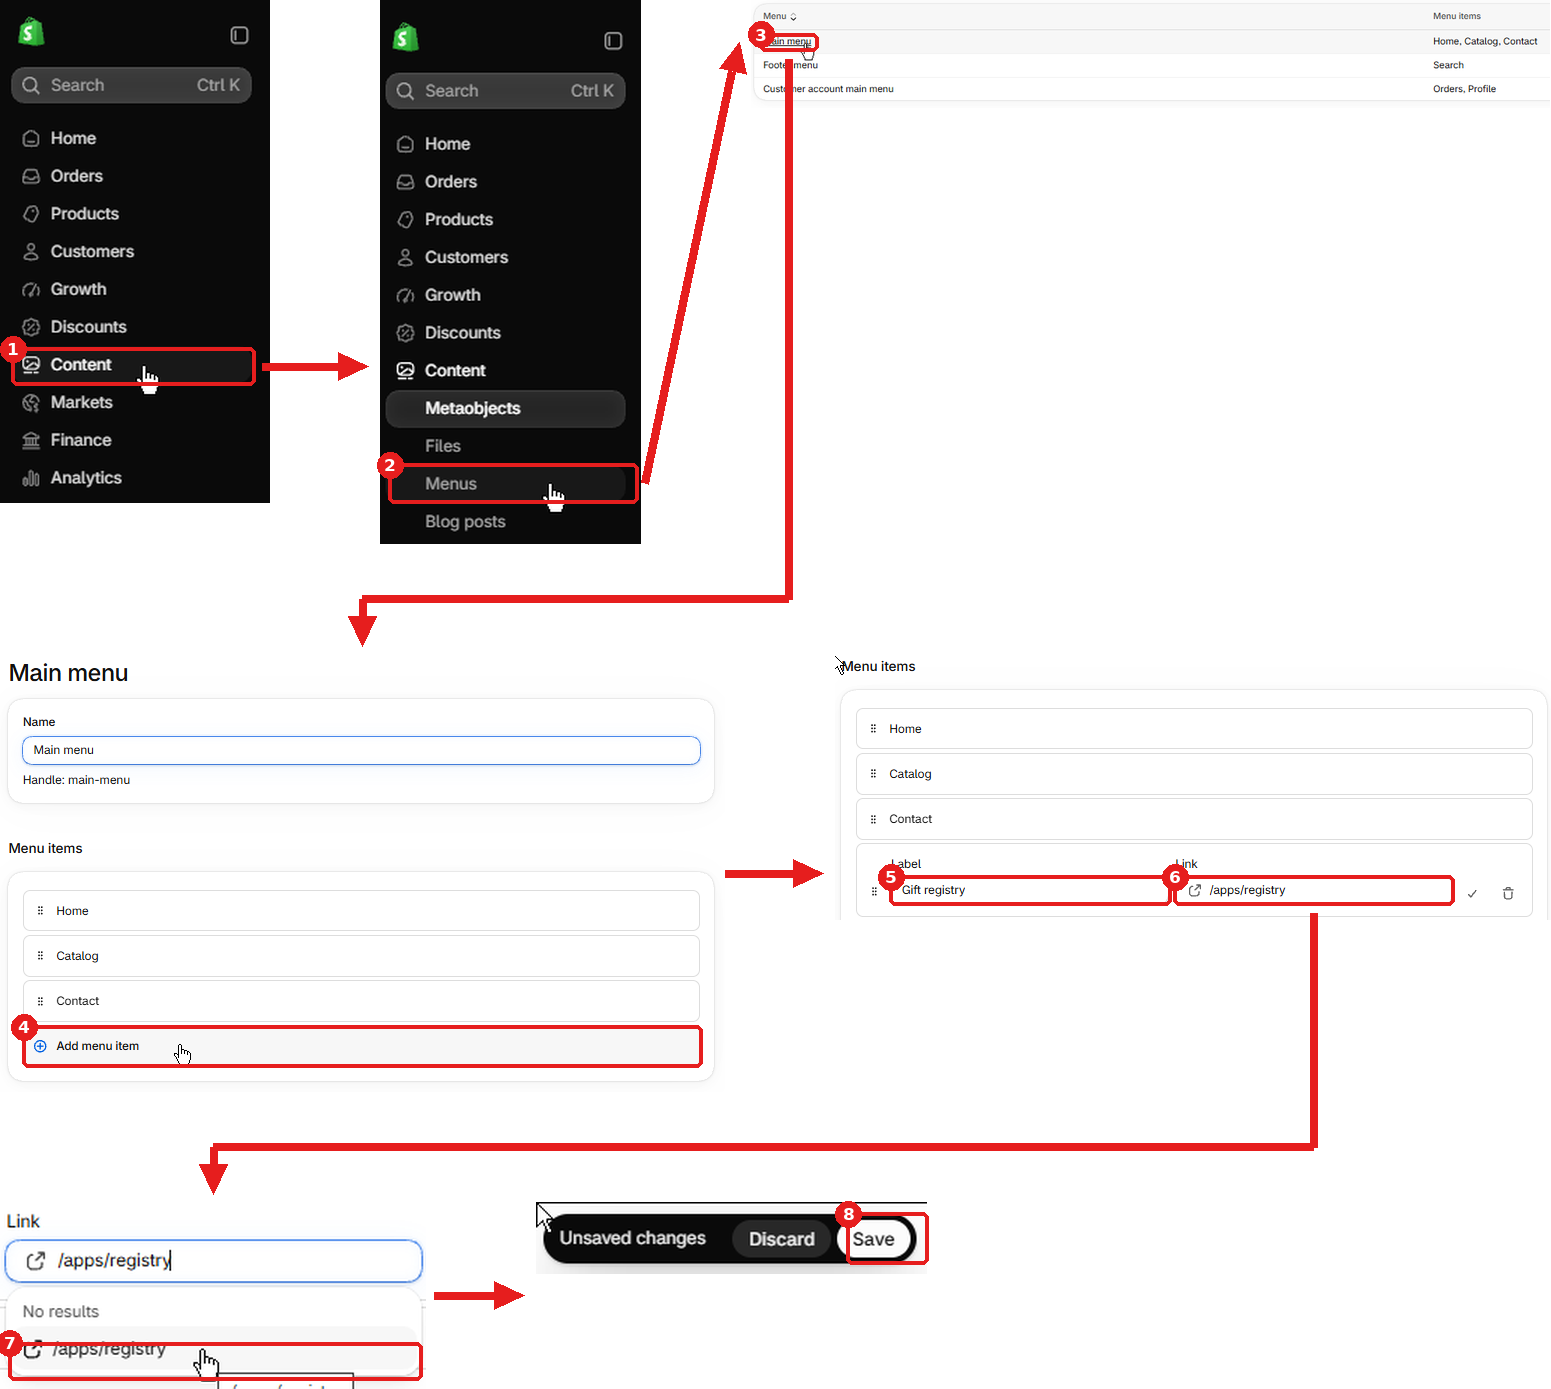
- Using a vintage (pre-Online Store 2.0) theme? The blocks won't work there, but your registry pages still do: add a menu item pointing to /apps/registry in Content → Menus.
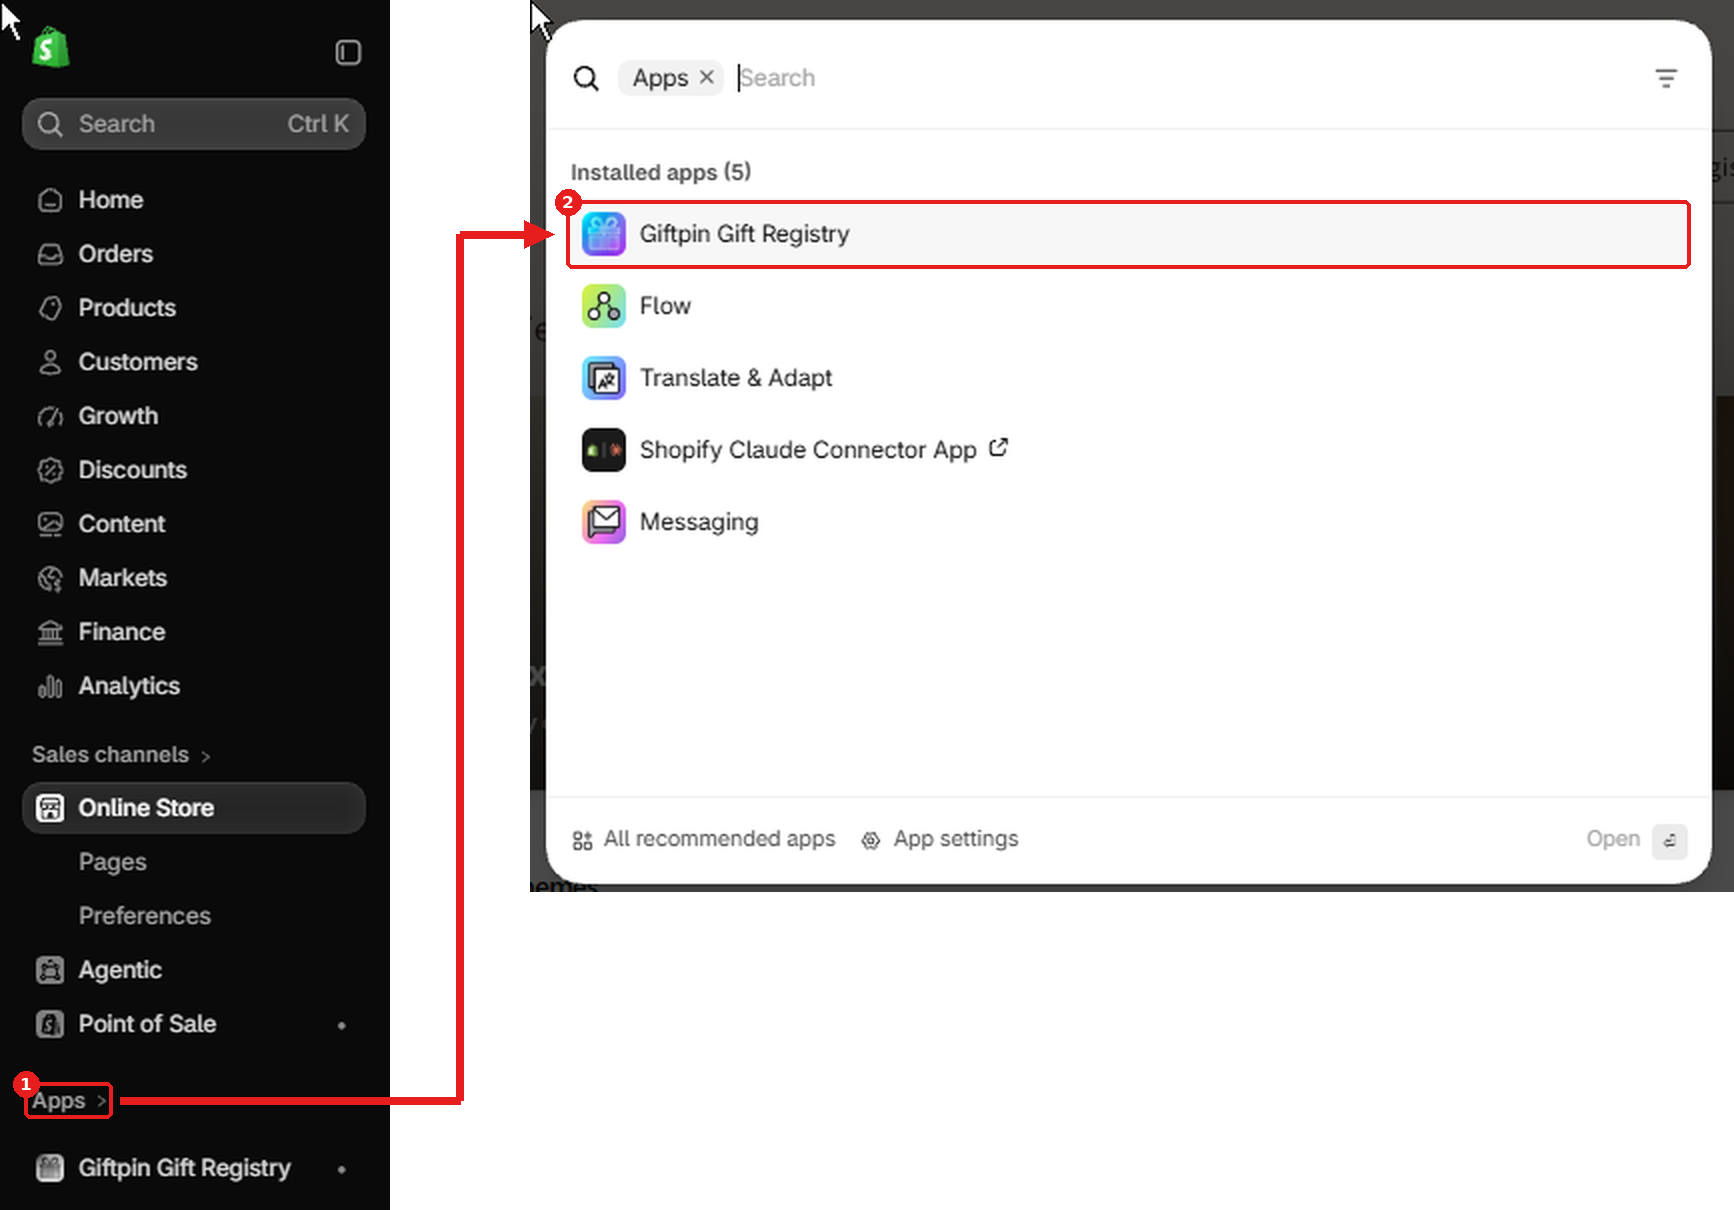
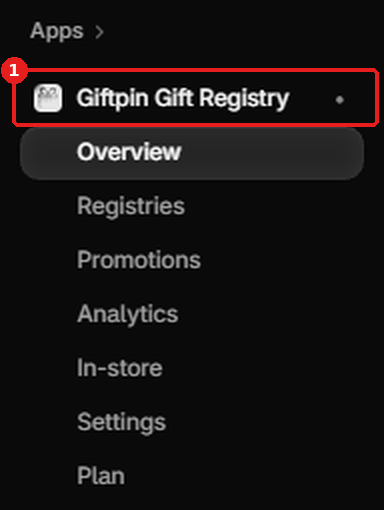
Check your registry pages
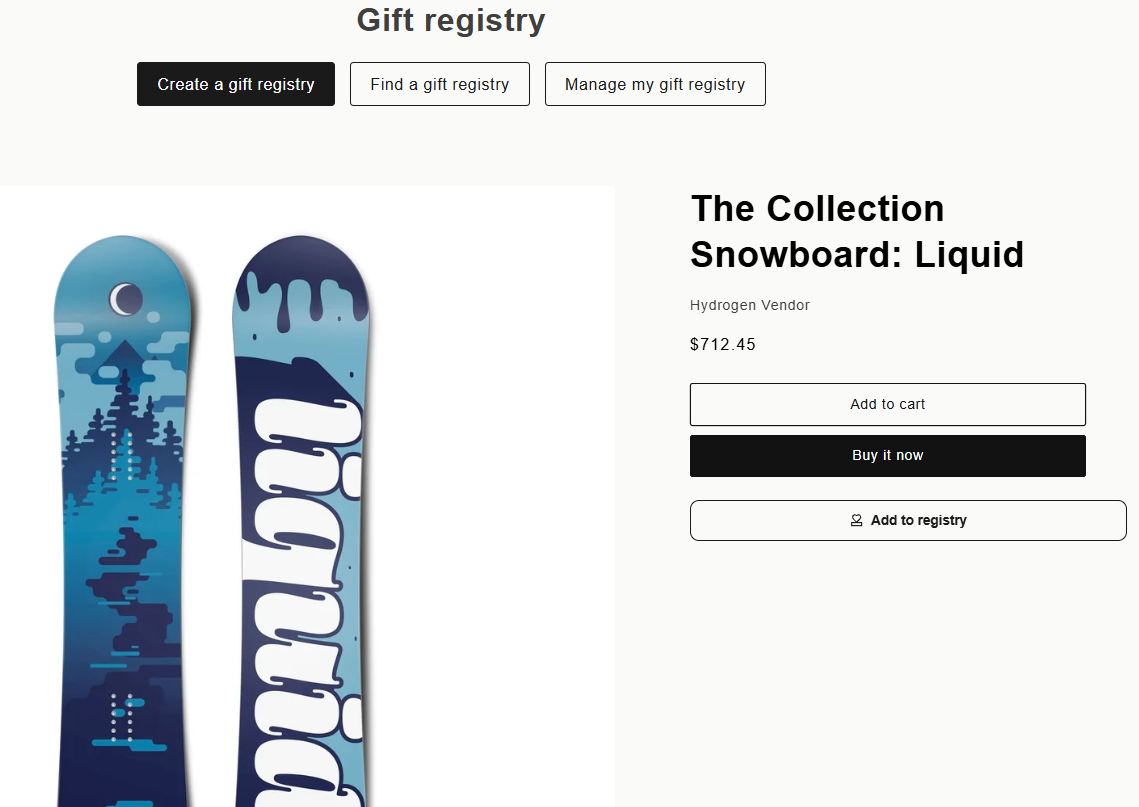
- On Overview, under Your registry pages, click Create a registry to see the page your customers use.
- Create a test registry, add a product with the Add to registry button, and open the guest link to see what guests see.
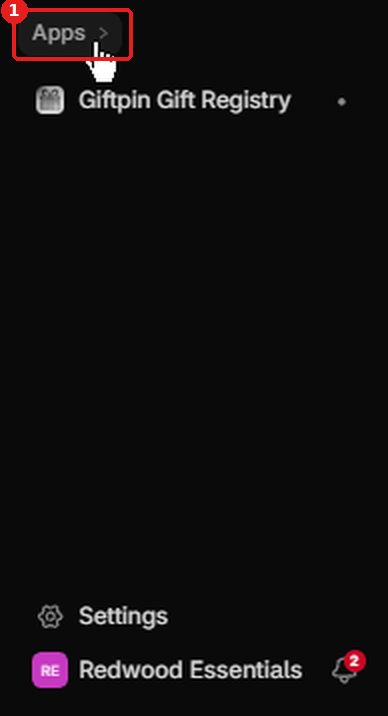
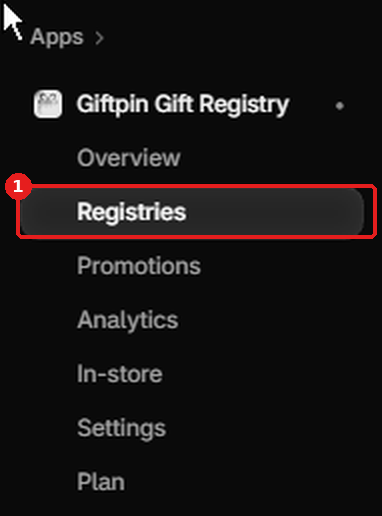
- Every registry your customers create shows up under Registries in Giftpin's menu.
This is what shoppers see on your storefront, not your Shopify admin.

Where the Save buttons are
Changes only count once you save them, and each screen puts the button somewhere different. This is the full list.
In the Shopify theme editor
- Save is at the top right of the theme editor. Adding, moving or changing a Giftpin block does nothing on your live store until you press it.
- The Giftpin buttons on Overview only open the editor with the block added. They don't save it for you.
On Giftpin's Settings page
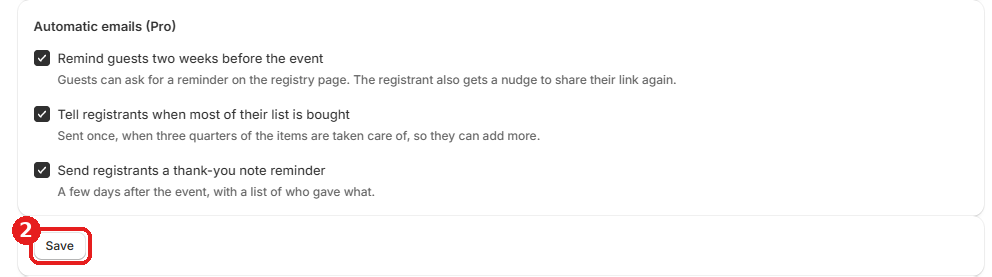
- Save is at the top right of the page, in the header. It saves everything from Occasions down to Automatic emails (Pro).
- The same Save button appears again at the bottom of that block, right under Automatic emails (Pro). Both do the same thing, so use whichever is closest.
- You'll see the message Settings saved at the bottom of the screen, and Saved beside the lower button.
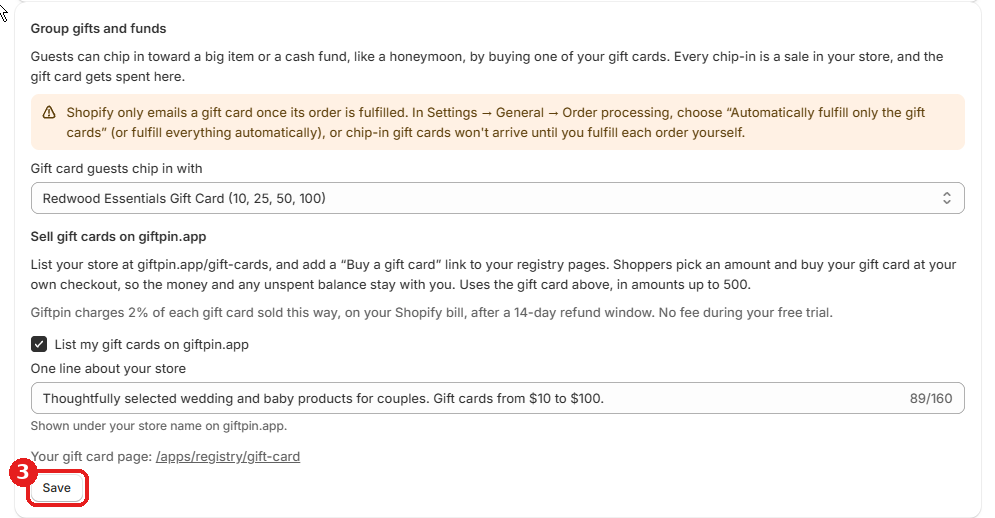
- Group gifts and funds, with Sell gift cards on giftpin.app inside it, has its own Save button at the bottom of that section. The header button does not save it: if you change anything there, press the one inside the section.
- Run now is an action, not a setting, so there is nothing to save.
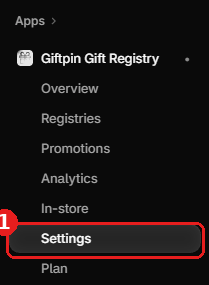

On Giftpin's other pages
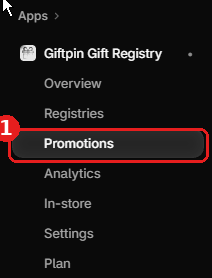
- Promotions: fill in New promotion and click Create promotion at the bottom of that form. Pause, Resume and Delete in the list act straight away.
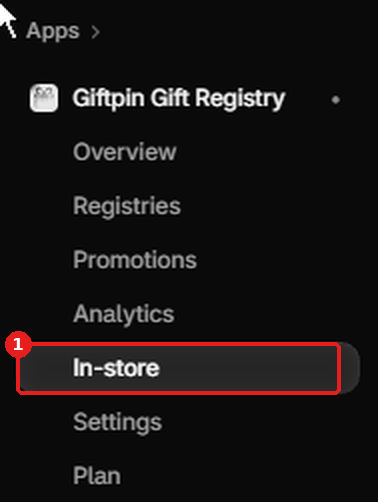
- In-store: click Create registry at the bottom of Start a registry for a customer.
- Import registries: choose your file, click the button that checks it, read what it will do, then click the Import button that appears.
- Registries, Analytics and Overview only show information, so they have nothing to save.
On a registrant's manage page
- Registrants have their own page, opened from the private link in their email. Tell them where to save, because a registry only keeps what was saved.
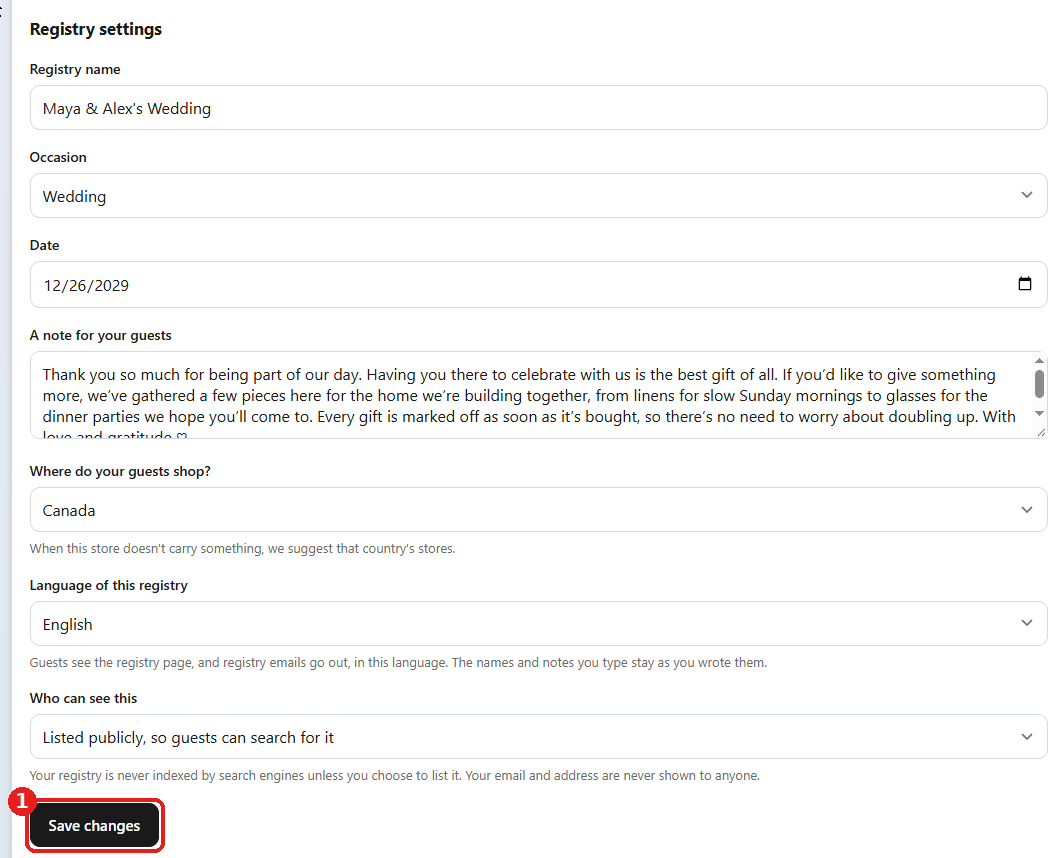
- Save changes is at the bottom of Registry settings, inside Edit registry & preferences near the bottom of the page. It saves the name, occasion, date, note, language and who can see it.
- Save inside Let guests ship gifts to me saves the shipping address. It is a separate button from the one above.
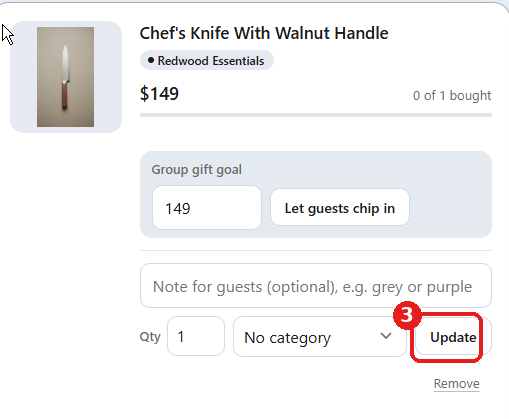
- Update on an item saves that item's quantity, note and category.
- During first-time setup the buttons are Save and continue and Skip for now. Step 2, about a partner, has Add partner and Not now instead.
This is the registrant's own manage page, not your Shopify admin. Registrants open it from their registry link.



Common questions
Where do I see my customers' registries?
Open Registries in Giftpin's menu. Overview shows registry revenue, new customers and gifts given.
Do registrants or guests need an account?
No. Registrants get a private manage link by email, and guests only need the registry link.
I changed a setting and nothing happened.
Check that you pressed Save. In the theme editor it is at the top right. On Giftpin's Settings page it is at the top right and again below Automatic emails, and Group gifts and funds has its own Save.
What happens to the theme blocks if I uninstall?
Shopify removes both Giftpin blocks from your themes automatically.
I'm stuck. Who do I contact?
Email support@giftpin.app with your store's .myshopify.com address and what you were trying to do.
Ready to give your customers a registry?
Free to install from the Shopify App Store.